November 8, 2023: Post bases for solar array
Putting in the solar array base.
We hade weed mat in place and we're ready to install the post bases and beams for the solar array base. The first part was to locate and set one post. Everything else was based on that. We wanted room to walk past the array with a wide load , maybe even a golf cart (aspirational), so that's why you want to think about that first post. Once a post was in we measured eight feet and set the second post. For the third and fourth we used the Pythagorean theorum (A squared + B squared=C squared), also known as the 3-4-5 method. You can use what works for you, you just want them mostly parallel and squareish. Here are a couple of YouTubes about that.
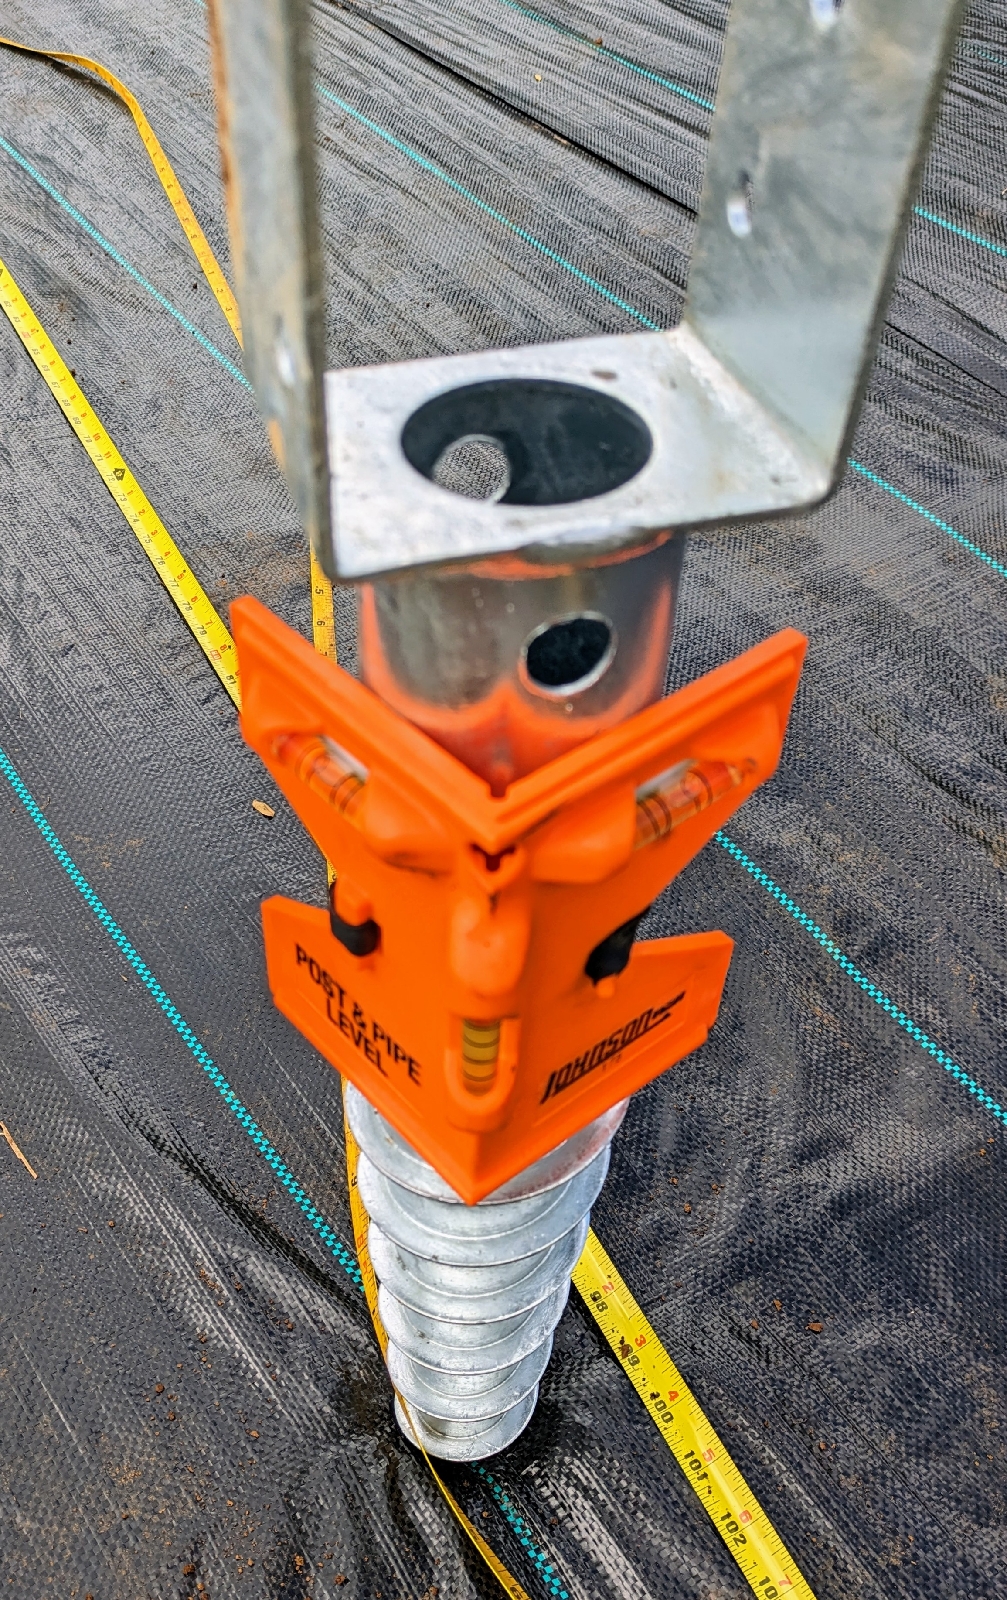
Ground screw post bases are good when you might (will) need to remove them at some point, like when your lease is up or for any reason you decide to move your farm. These particular posts are from American Ground Screw and are called "U-Model Premium No Dig Ground Anchor - Screw in Post Stake - 27"". We bought them through Amazon but you can also order them directly from the manufacturer. When I tested it they offered free shipping even to Hawaiʻi. The price is a couple of dollars higher than on Amazon but Amazon charges shipping even with prime membership for this item, so might be cheaper in this case to go with the direct from manufacturer route We have an up-to-3-year incubator agreement with GoFarm, so these posts are great. A nice thing about these posts is that they can be made more permanent by pouring a concrete block around them, and the initial cost of the post is about the same as the equivalent type made cast in concrete. Screwing them into compacted volcanic oxisol soil is ,um , a challenge, but we worked out a simple method.
First we pounded in a length of rebar to make a pilot hole. Two pounds, then wiggle the rebar around , two pounds, wiggle, to about a foot. You want to be able to pull it out, is the goal here. We used a t post pounder because he have one, do t buy it just for this a hammer (or rock) would work too.
Then we (and when I say we I mean Kenji) put the ,very sharp, point of the screw in the pilot hole and with the supplied rebar, nicely galvanized, apply downward pressure and twist it in, keep it as level as you can withe the post level (orange thing rubber baned to the screw). You want the ground screw to bite into the ground line a...screw.
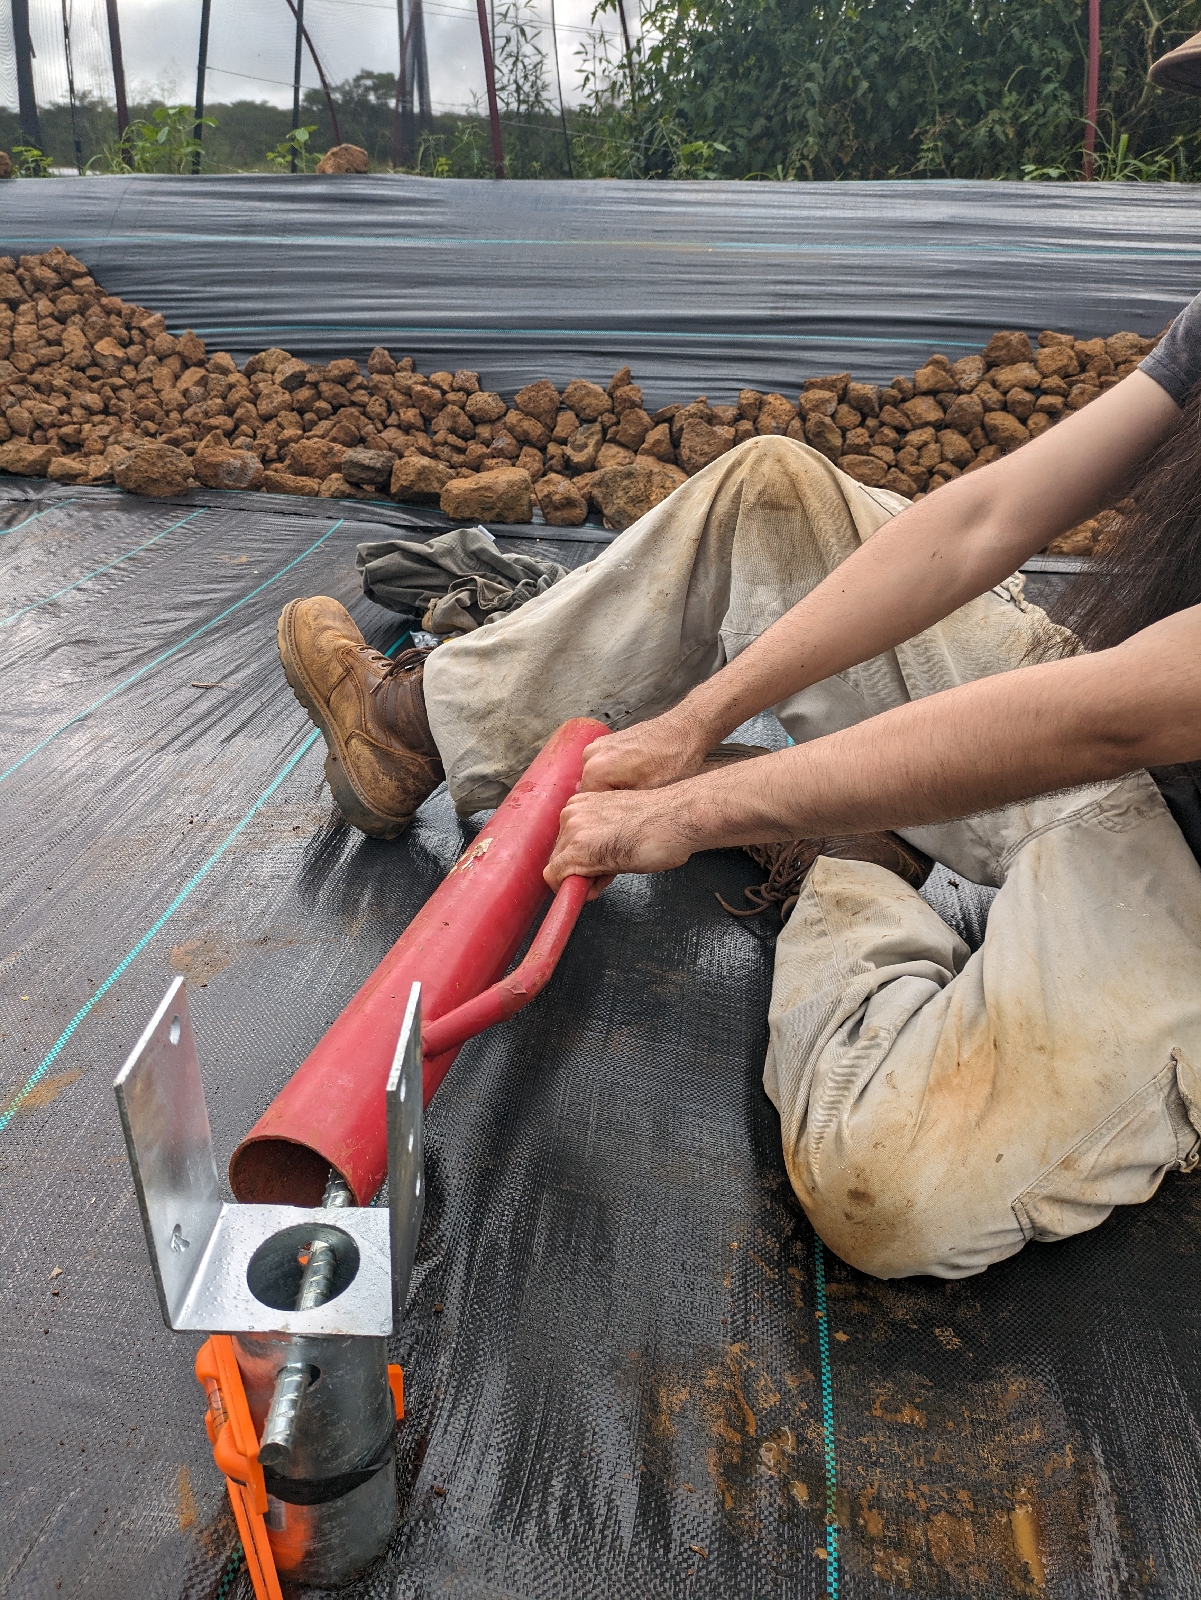
Then it gets fun. You can see how we used arms, legs, and a extension on the rebar to turn the post in. Our goal was to screw the posts in so the final height would be close to level for the panels. More importantly, the supports need to be on an even plane with each other. For example, overall, the base slopes a tiny bit downhill, maybe 3 degrees. But I relation to each other they are flat so the solar panels won't get twisted, glass does not like that kind of stress.
We have two rows of solar panel base here, each one nade of four und screws and two 4x4x12s. That's enough for 5 200 watt solar panels on each row.
What's left is to paint the 4x4s and level then to each other a bit better with shims, the kind used for windows and doors.
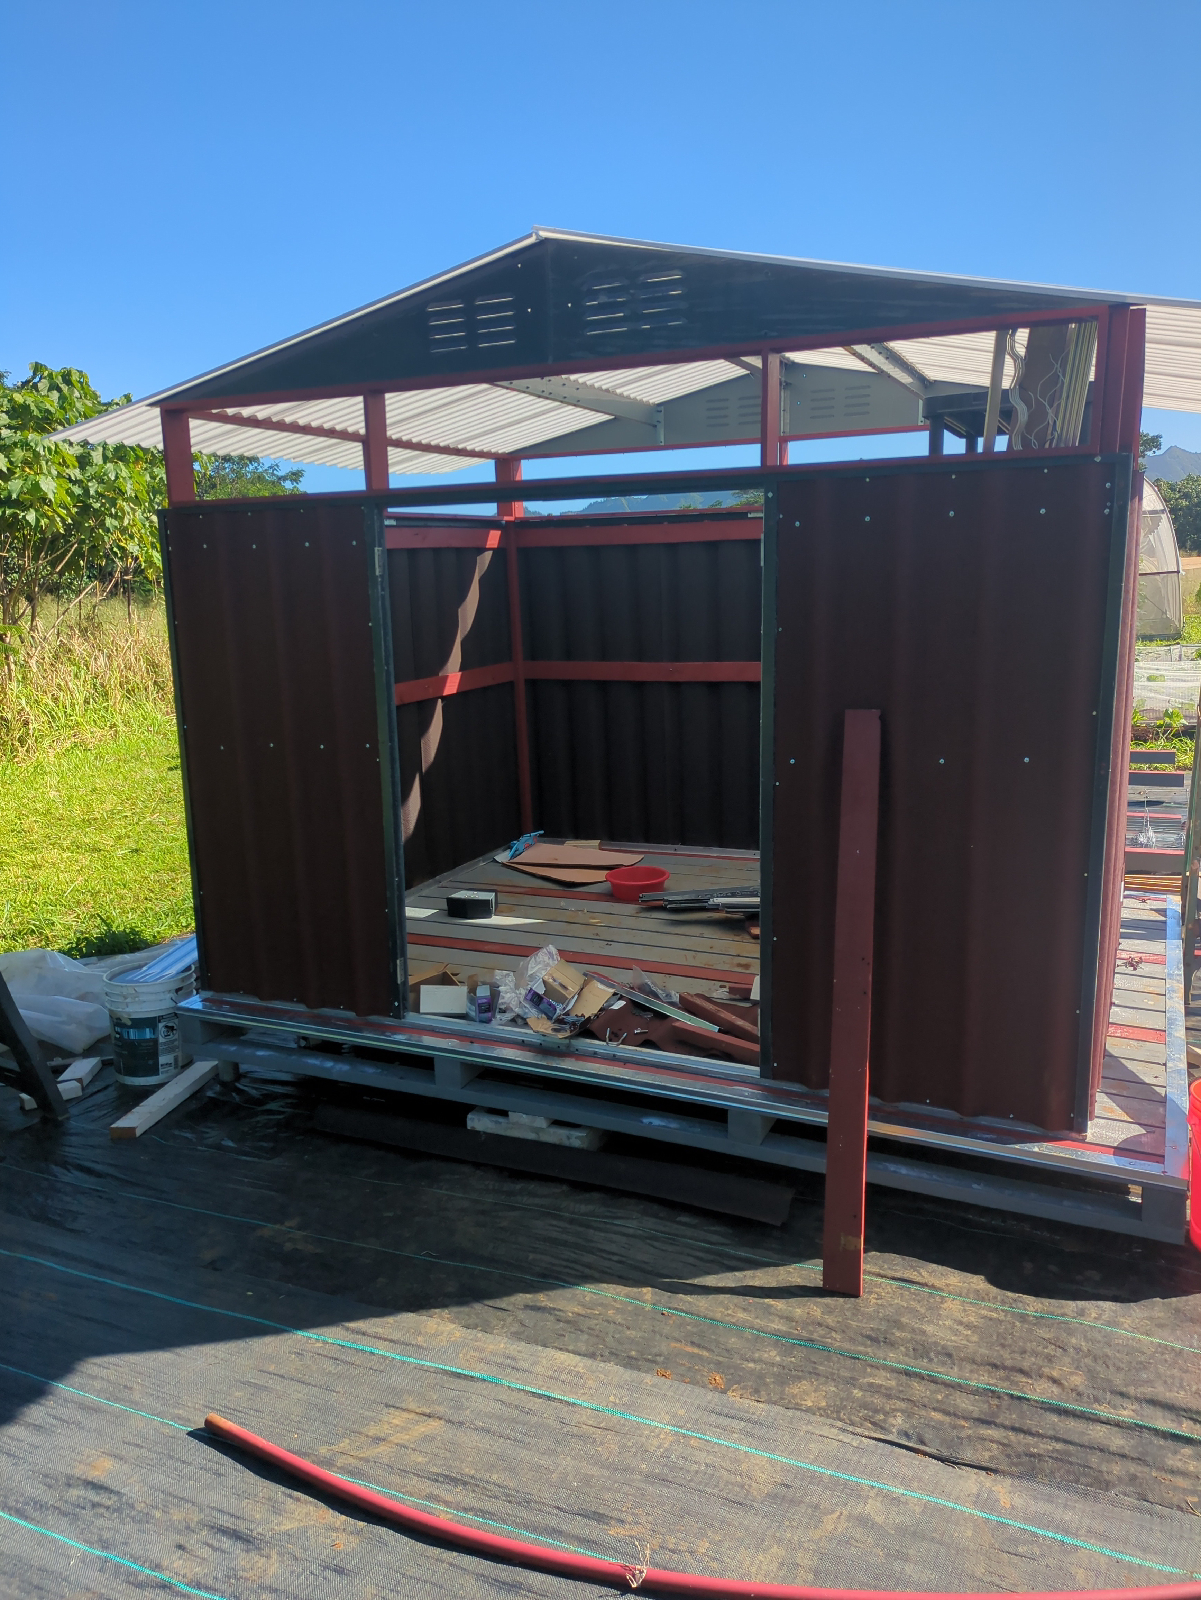
Next: Shed to hold the charge controllers, batteries, and other stuff.


Comments
Post a Comment