Posts

Sturm und drang, mostly sturm and new site

Image
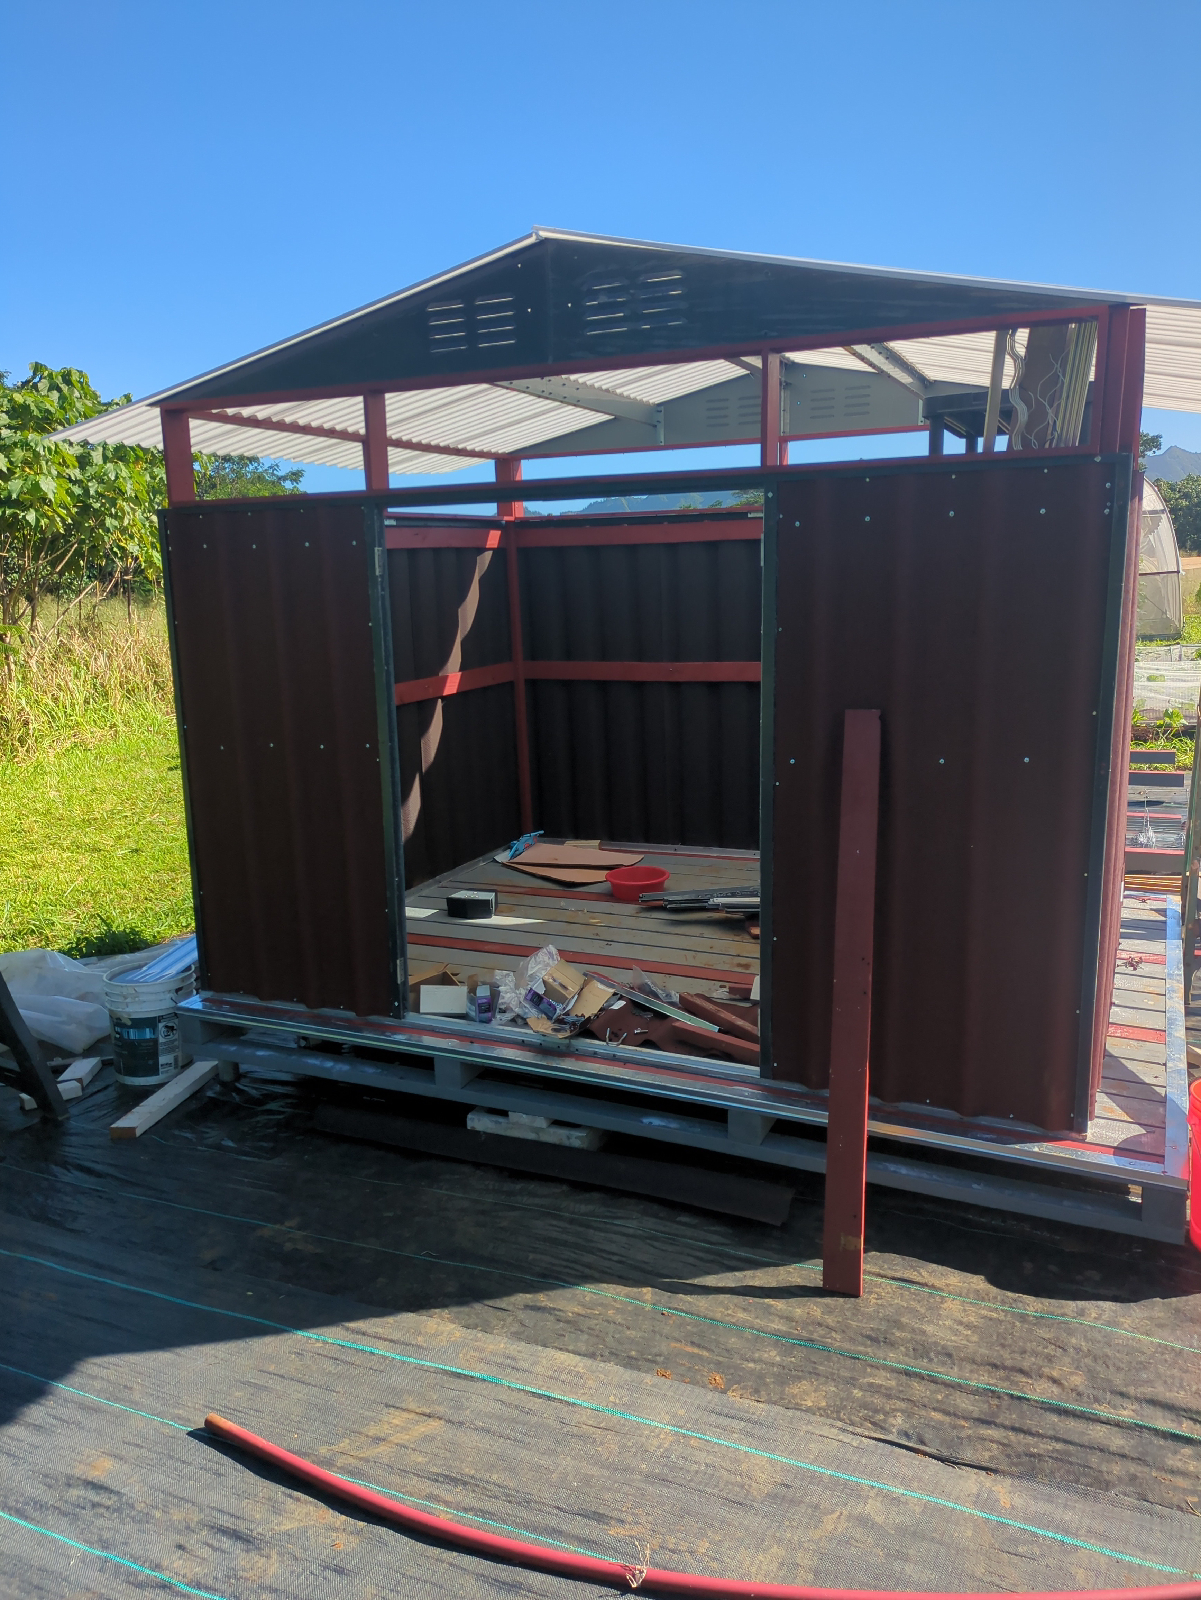
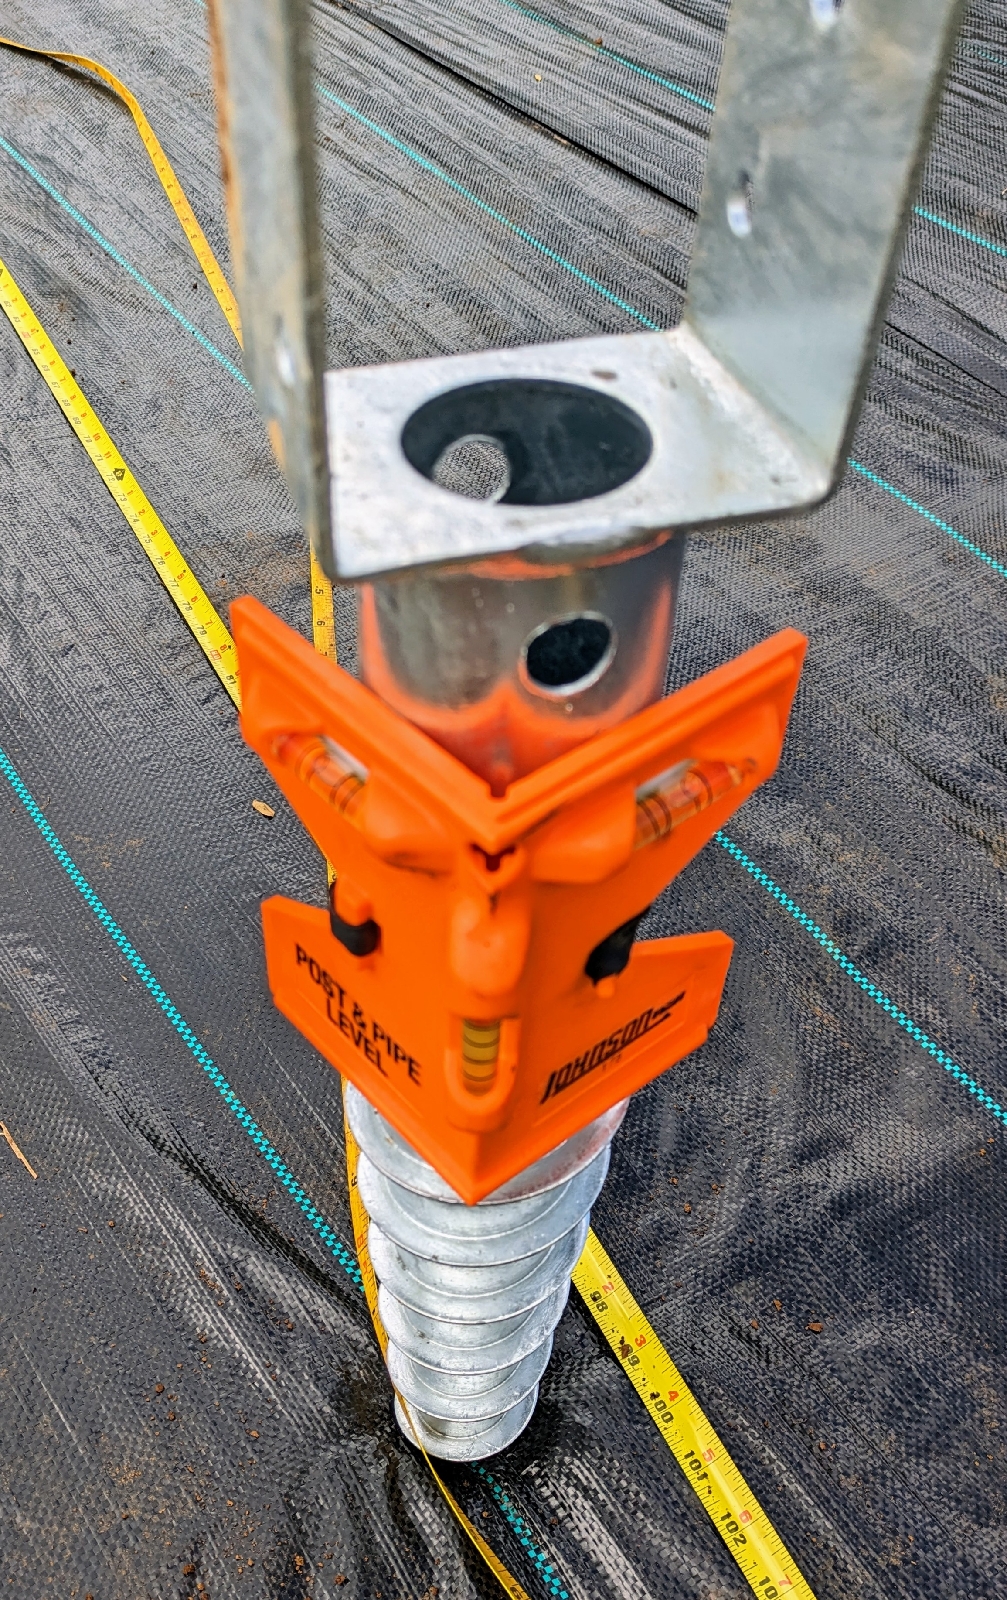
  Winds tore through our hoop houses and tore them mostly to shreds. We were just getting ready to transition to a new site in Waimea and this event added a new urgency to move the schedule up. The new greenhouse with...renovations. Kenji strapping down the blown out side of our big greenhouse The Waimea site had already existing greenhouses, some with covers and some not. We leased two of them, each 96 feet x 30 feet and 20 feet tall. Old irrigation was also in place making repairs and upgrades not too hard. Water pressure was also great so no need for pumping.  The new greenhouse in Waimea. This one had plastic in place already. Solar panels are moved from the Lī huʻe site. Kenji screwing in the post based. the ground is rock hard here so we used a small auger to drill holes. Setting up greenhouse  two for plastic installation. Greenhouse two was full of desiccated tomato plants and weeds. Much cleaning. Corteva, our landlords, provided a dumpster to help. Super helpful...

Catching up

Image
 This is a catch-up post since we haven't updated in a while... Since our last post a lot has happened. We moved 30 miles West to Waimea  at the end of our GoFarm Incubator program and have been busy installing systems their while keeping production as active as possible. The environment and problems in Waimea are quite different , but I will get to that later. First, an update on our work at the GoFarm site. We finished the 850 gallon reservoir and installed a pressure tank and pump to feed our screenhouses. The pressure tank is a 40 gallon model from the Home Depot with a pressure regular and one way check valve connected by 1-1/2" PVC pipes. We hooked it into the regular irrigation system so we could bypass the reservoir and use the GoFarm system when water was available. It also made it easy to fill the reservoir whenever we ran irrigation. The diversion at the bottom was for a venturi  fertigation system that we used to feed the shadehouse plants. The pump motor was ...

June 2024: Water.

Image
With the solar system operational we , after another pause for farm related work, turned to setting up a reliable water supply and purification system. So we could wash produce, clean equipment, and, at last, wash our hands properly. Reservoir type tanks are very expensive, and we had anticipated burning a lot of cash to obtain one. But Kenji saw a design on YouTube, and I recalled seeing a similar aquaponics tank made from heavy wire fencing and plastic sheeting. We decided to try it.  First we made a five foot cylinder with the fencing and wired the ends together, making sure to keep the pointy ends pointed out away from where the liner would go.   Wiring the ends of the fence together. Our tank ended up five feet in diameter. That was just how much fencing we had available, so five feet. We used that to mark an area of ground and leveled it. It is very important that the ground is level! Too much slope and the tank will collapse.  The post helped us measure how fa...

Battery, panels and controller.

Image
The battery arrived by airfreight from Battery Bill's on Oʻahu and we were suddenly back in business. What were we doing in the meantime? Farming! It turns out the farm doesn't stop needing attention just because we got new equipment to install... We chose to use prefabbed panel mounts bolted to our level and stable base, and tweaked the angle to a bit over 22 degrees for maximum exposure.  We also found we needed to turn them just a bit West to catch the sun better, so they sit at a slight angle on the base structure, and luckily still fit.  The controller is a 100 amp Renogy Rover series. Not the latest but decent price and it shipped via Amazon Prime.  The controller will handle up to 100 amps of input and either 12 (about 9 amps per panel at 12 volts) or 24 volts (still 9 amps but now at 24 volts). That means you have the flexibility to use, as we did, 8 panels in series running 12 volts and 72 amps, or pairing panels in...

Batteries

Image
The picture above is supposed to be of our new battery, the heart of our off-grid system. Its wonbok though. Because I still have not managed to get the battery. Of all the challenges of completing this project so far battery acquisition is the most difficult. Not just any battery, the right one. Windstorms, all of our new screen houses blowing over, a new pig invasion, all not as much of a headache. There is light, though, at the end of the tunnel. A nice light powered by a lithium cell, I can just tell. If you are in Hawaiʻi check out  Battery Bill's . Bill supplies not only batteries but  charge controllers, all kinds of equipment for off grid solar. You want the Mapunapuna store on Ahua St. Batteries, as I said above, are the heart of a stand alone energy system whether solar or wind, which is also solar... Anyway, it's the Amp hours (AH) available at any given time that powers tools, light, pumps, not how many solar panels there are out there in your array. Th...

Shed Construction, Theft, and Wind!

Image
We bought a shed kit on Amazon (the only one that would ship to Hawaiʻi) and though a bit, uh, short it was fine. We planned to rIse the roof a little, a slight mod. But, life. When I went to fetch the wall panels, they were gone, stolen. And the roof panels. Probably they are making a nice roof for a hunting dog kennel somewhere. The company was semi helpful, offered to ship new panels for $200 something, plus $500 shipping. Gee thanks. The solutwas to get ondura panels for the wall and polycarbonate for the roof, which worked and cost about $250. Ondura is okay, but it isn't corrugated metal. It's corrugated recycled tires masked into a panel, not strong but weather resistant. They were inexpensive ($22 for a 33"x 79") and weathered one good windstorm and rain so far. We anchored it with the same screw in ground posts used gir the solar array base. About that windstorm.  It also shredded our hybrid screen/greenhouses a...

November 8, 2023: Post bases for solar array

Image
Putting in the solar array base. We hade weed mat in place and we're ready to install the post bases and beams for the solar array base. The first part was to locate and set one post. Everything else was based on that. We wanted room to walk past the array with a wide  load , maybe even a golf cart (aspirational), so that's why you want to think about that first post. Once a post was in we  measured eight feet and set the second post. For the third and fourth we used the Pythagorean theorum (A squared + B squared=C squared), also known as the 3-4-5 method. You can use what works for you, you just want them mostly parallel and squareish. Here are a couple of YouTubes about that. Using the Pythagorean theorum   Using the 3-4-5 method The post bases were very straightforward to install using a post level. It's the orange thing attached to the post below, about $7.00 and well worth it, because even flat ground is not really level. Ground screw post bases are good ...